Writing a biography about yourself sounds simple — until you sit down to do it. Suddenly you’re staring at a blank page, wondering whether to start with your job title, your childhood, or that one career-defining moment you’ve never quite known how to put into words.
It’s one of the most universally awkward writing tasks there is. But it’s also one of the most important. A well-written personal biography shapes how the world sees you — before you’ve said a single word in person. It builds credibility, tells your story, and opens doors that a resume alone never could.
This guide walks you through the entire process of writing a biography about yourself — from deciding what to include to polishing the final draft — with real examples at each step.
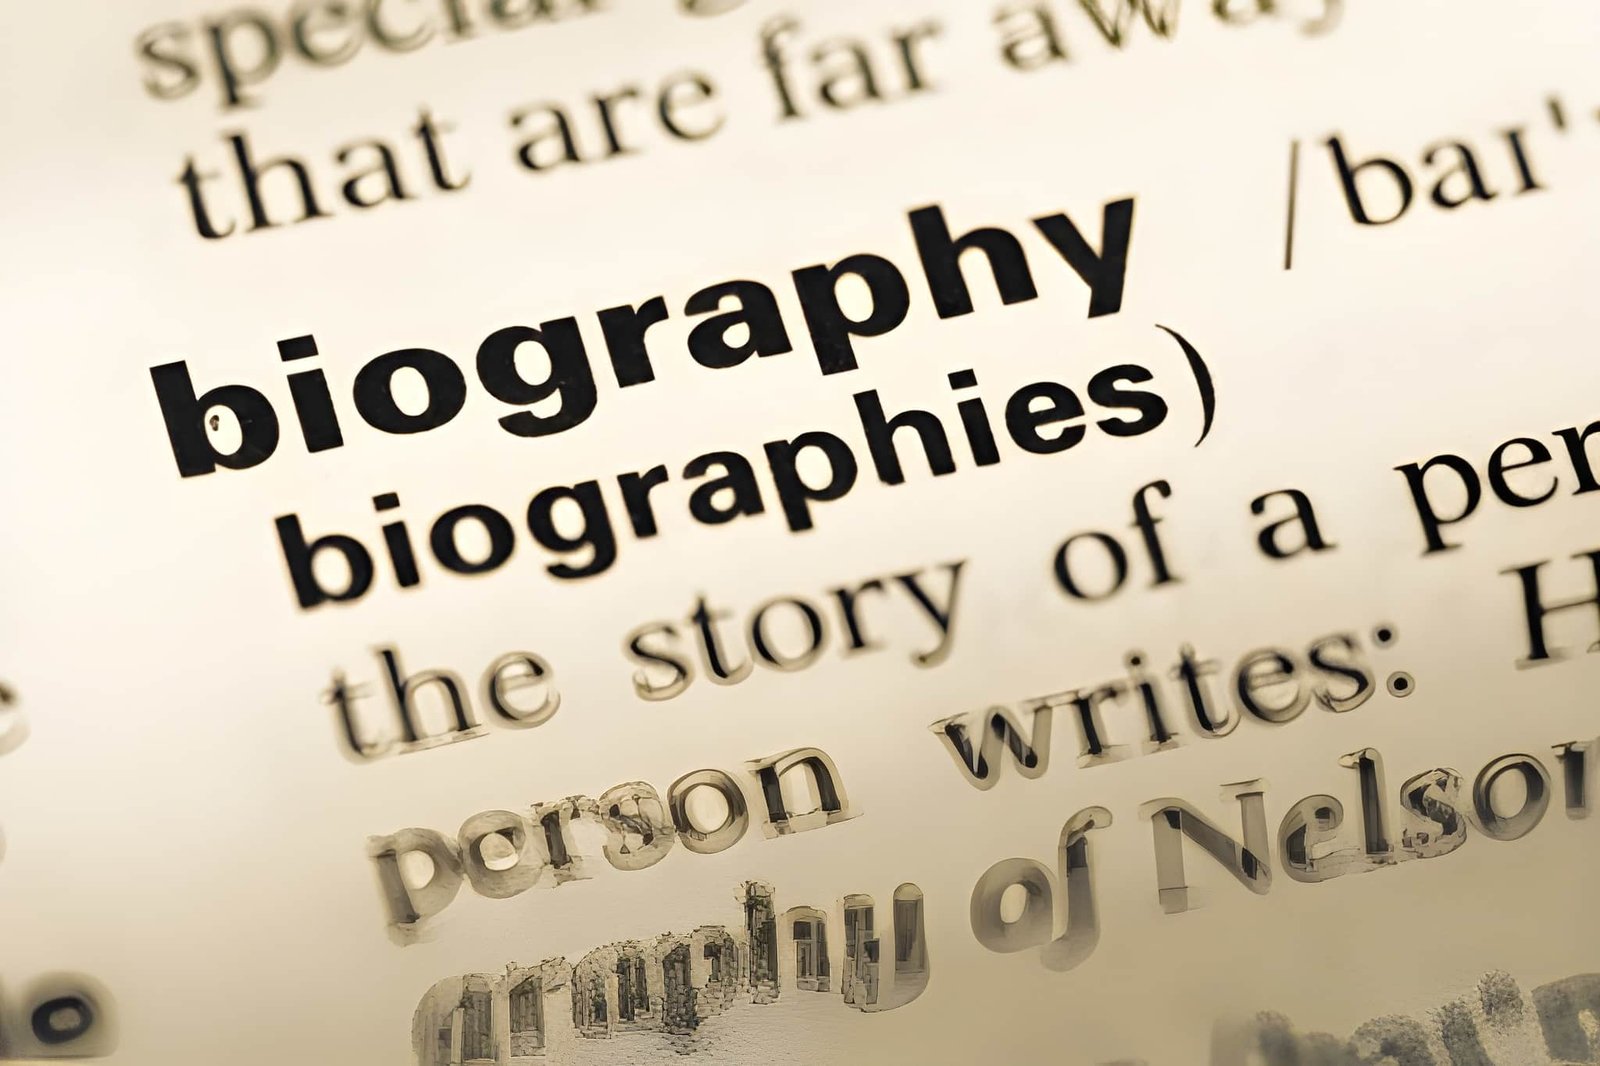
What Is a Personal Biography?
A personal biography, often called a personal bio or self-written bio, is a short written introduction that summarizes who you are, what you do, and what makes you worth knowing. It’s not a full autobiography. It’s a strategic, curated snapshot of your life, career, and personality — written specifically to make the reader take notice.
You’ll use a personal biography in more places than you think: LinkedIn profiles, personal websites, speaker introductions, author pages, company “About Us” sections, grant applications, pitch decks, and social media profiles. In every one of those contexts, your bio is your first impression — and first impressions are formed in seconds.
Step 1: Decide the Purpose and Audience Before You Write a Single Word
This is the step most people skip — and it’s the reason most bios feel generic. Before you think about what to write, answer two questions:
Who is reading this? A potential employer reads a bio differently than a conference attendee, a social media follower, or a book publisher. Your tone, length, and emphasis should change depending on the reader.
What do you want them to do after reading it? Hire you? Follow you? Collaborate with you? Trust you? Every sentence in your bio should push subtly toward that outcome.
A professional biography — used on LinkedIn, company websites, or industry events — should be results-focused, credential-heavy, and clear about the value you bring. A personal biography — used on a blog, social media, or creative platform — can be warmer, more conversational, and reveal more personality.
Deciding this upfront changes everything about how you write.
Step 2: Gather Your Raw Material
Think of this step as building a drawer full of facts and stories you can pull from. Write down everything that might be relevant — don’t filter yet. Come back to it and identify the strongest points across these categories:
- Professional identity: current role, industry, years of experience
- Key achievements: awards, milestones, numbers, published work, recognitions
- Education and credentials: degrees, certifications, training
- Personal values: what drives you, what you believe, what you’re working toward
- Origin story: how you got into your field, what sparked your path
- Personality markers: hobbies, passions, quirks that make you human
You won’t use all of this. But having it in one place lets you choose the most relevant details for each context, rather than improvising every time.
Step 3: Choose First Person or Third Person
One of the most practical decisions in writing a self-biography is whether to use first person (“I”) or third person (“She,” “He,” “They,” or your name).
First person feels more direct and personal. It works well on personal websites, creative platforms, informal social profiles, and anywhere the reader expects to feel like they’re hearing from you directly.
“I’m a content strategist with eight years of experience helping B2B brands turn complex ideas into content that actually converts.”
Third person feels more formal and authoritative. It works well on company websites, speaker bios, press pages, and professional directories where a degree of distance signals credibility.
“Sarah Chen is a content strategist with eight years of experience helping B2B brands turn complex ideas into content that actually converts.”
Both are correct. The wrong choice is writing in third person when your platform expects first, or vice versa. When in doubt, check what others in the same space are doing and match the convention.
Step 4: Write a Strong Opening Line
Your first sentence is the most important sentence in your biography. It sets the tone, establishes your identity, and determines whether the reader keeps going. Don’t waste it on your name and job title alone.
Weak opening:
“John is a marketing professional with experience in digital advertising.”
That tells the reader almost nothing distinctive. It sounds like a thousand other bios.
Strong opening:
“John has spent the last decade helping e-commerce brands turn abandoned carts into loyal customers — growing email revenue by an average of 40% within the first six months.”
That opening names a specific result, signals expertise, and immediately tells the reader what John is worth to them. That’s what a strong opening does: it answers the reader’s unspoken question — “Why should I care?”
Other strong opening approaches include leading with a surprising fact, a bold professional statement, or a brief origin story that contextualizes everything that follows.
Step 5: Build the Middle — Tell Your Story With Substance
Once you’ve hooked the reader, use the body of your bio to build depth. This is where you include your professional background, key achievements, education, and the experiences that shaped who you are today.
Structure the middle section in one of two ways:
Chronological structure — moves through your journey in order, showing clear progression and growth. Works well for bios that tell a transformation story.
Thematic structure — groups related experiences and achievements by theme rather than timeline. Works well when your background is diverse or non-linear.
For most professional bios, a loose chronological approach works best. Cover your current role, then pull back to give context — where you came from, what shaped your expertise, what you’ve achieved along the way.
Example (middle section of a professional bio):
“After completing her degree in Environmental Science, Maya spent five years working with municipal governments across the Pacific Northwest on waste reduction policy. She later transitioned into the private sector, where she now leads sustainability strategy for a mid-sized consumer goods company — a role in which she reduced the company’s carbon footprint by 32% in two years. Her work has been featured in several industry publications, and she regularly speaks at sustainability conferences across North America.”
Notice what’s in there: background, career transition, concrete achievement, credibility markers. Nothing vague, nothing that couldn’t apply to anyone else.
Step 6: Add the Human Layer
A biography that reads like a résumé in paragraph form is technically complete — but it’s forgettable. The detail that makes a bio memorable is usually the human one: a value you hold deeply, a personal interest that explains your professional obsession, or a brief story about why you do what you do.
This doesn’t mean oversharing. It means including one or two details that let the reader see the person behind the credentials.
Example:
“Outside of work, Marcus is a competitive long-distance runner — a discipline he credits with teaching him more about strategic patience than any boardroom experience ever has.”
That one sentence adds personality, creates a memorable image, and subtly reinforces a professional quality (strategic patience) in a completely human way. That’s the goal.
Step 7: End With a Clear Call to Action
Your biography should close with a direction — something that tells the reader what to do next. This is especially important in professional contexts. Don’t assume the reader knows how to reach you or where to go.
Examples of strong closing CTAs:
- “Connect with her on LinkedIn or reach her directly at [email protected].”
- “To inquire about speaking engagements or collaborations, visit [website].”
- “Follow his work at [website] for weekly insights on sustainable business.”
Keep it short, direct, and relevant to the bio’s purpose. The right CTA turns a passive reader into an active connection.
Step 8: Get the Length Right
Biography length depends entirely on where it will appear. Here’s a quick reference:
| Context | Recommended Length |
|---|---|
| Twitter / Instagram | 1–2 sentences (under 160 characters) |
| LinkedIn summary | 150–300 words |
| Personal website / About page | 300–500 words |
| Speaker introduction | 100–200 words |
| Full professional biography | 500–800 words |
The most common mistake is writing one long bio and using it everywhere. You should have at least two versions: a short bio (two to three sentences) and a long bio (two to four paragraphs). Pull from them depending on context.
Step 9: Edit Like a Professional
Once your first draft is done, come back to it with fresh eyes — ideally after sleeping on it. Read it aloud. Every line you stumble over needs to be rewritten. Every sentence that sounds stiff or overly formal needs to be loosened up.
Cut anything that’s vague, redundant, or that could apply to any person in your field. Your bio should sound unmistakably like you — specific, clear, and confident without crossing into arrogant.
Then have someone else read it. A trusted colleague, a mentor, or a professional editor can catch blind spots you’ll never catch yourself. Ask them: Does this sound like me? Does it make you want to learn more?
Common Mistakes to Avoid
Writing a strong personal biography means knowing what not to do just as much as what to do. Avoid these pitfalls:
Being too vague. “Passionate professional with a love for innovation” means nothing. Specific achievements and real experiences do the work that vague adjectives never can.
Trying to include everything. A bio is not a life story. It’s a highlight reel curated for a specific audience. Edit ruthlessly.
Never updating it. Your bio should evolve with your career. Review it every six months or after any significant professional milestone.
Mismatching tone and platform. A formal third-person bio on a casual personal blog feels stiff and alienating. A breezy first-person bio on a corporate speaker page feels unprofessional. Match the tone to the space.
A Final Note on Voice
The best personal biographies don’t just inform — they feel like someone worth knowing wrote them. Authenticity is not a soft concept here; it’s a strategic one. Readers can sense the difference between a bio that was written with genuine self-reflection and one that was assembled from a template.
Write a biography that you’d be proud to hand someone in person. One that captures not just what you’ve done, but who you are — and where you’re going.
Want Your Biography Written by a Professional?
Writing about yourself is one of the hardest things to do well — not because you lack the story, but because you’re too close to it to shape it objectively. At Oscar Ghostwriting, we specialize in crafting personal and professional biographies that are sharp, authentic, and built to make the right impression. Whether you need a LinkedIn bio, a full professional biography, or a complete personal brand narrative.
 Autobiography